It’s time to look good on videoconferences
(If you want to skip the article, you can jump down to the equipment list)
It seems like just about every possible business meeting is now done via video conference. I was concerned how my poor little webcam was making me look and I figured it was time to make an investment in my presentation.
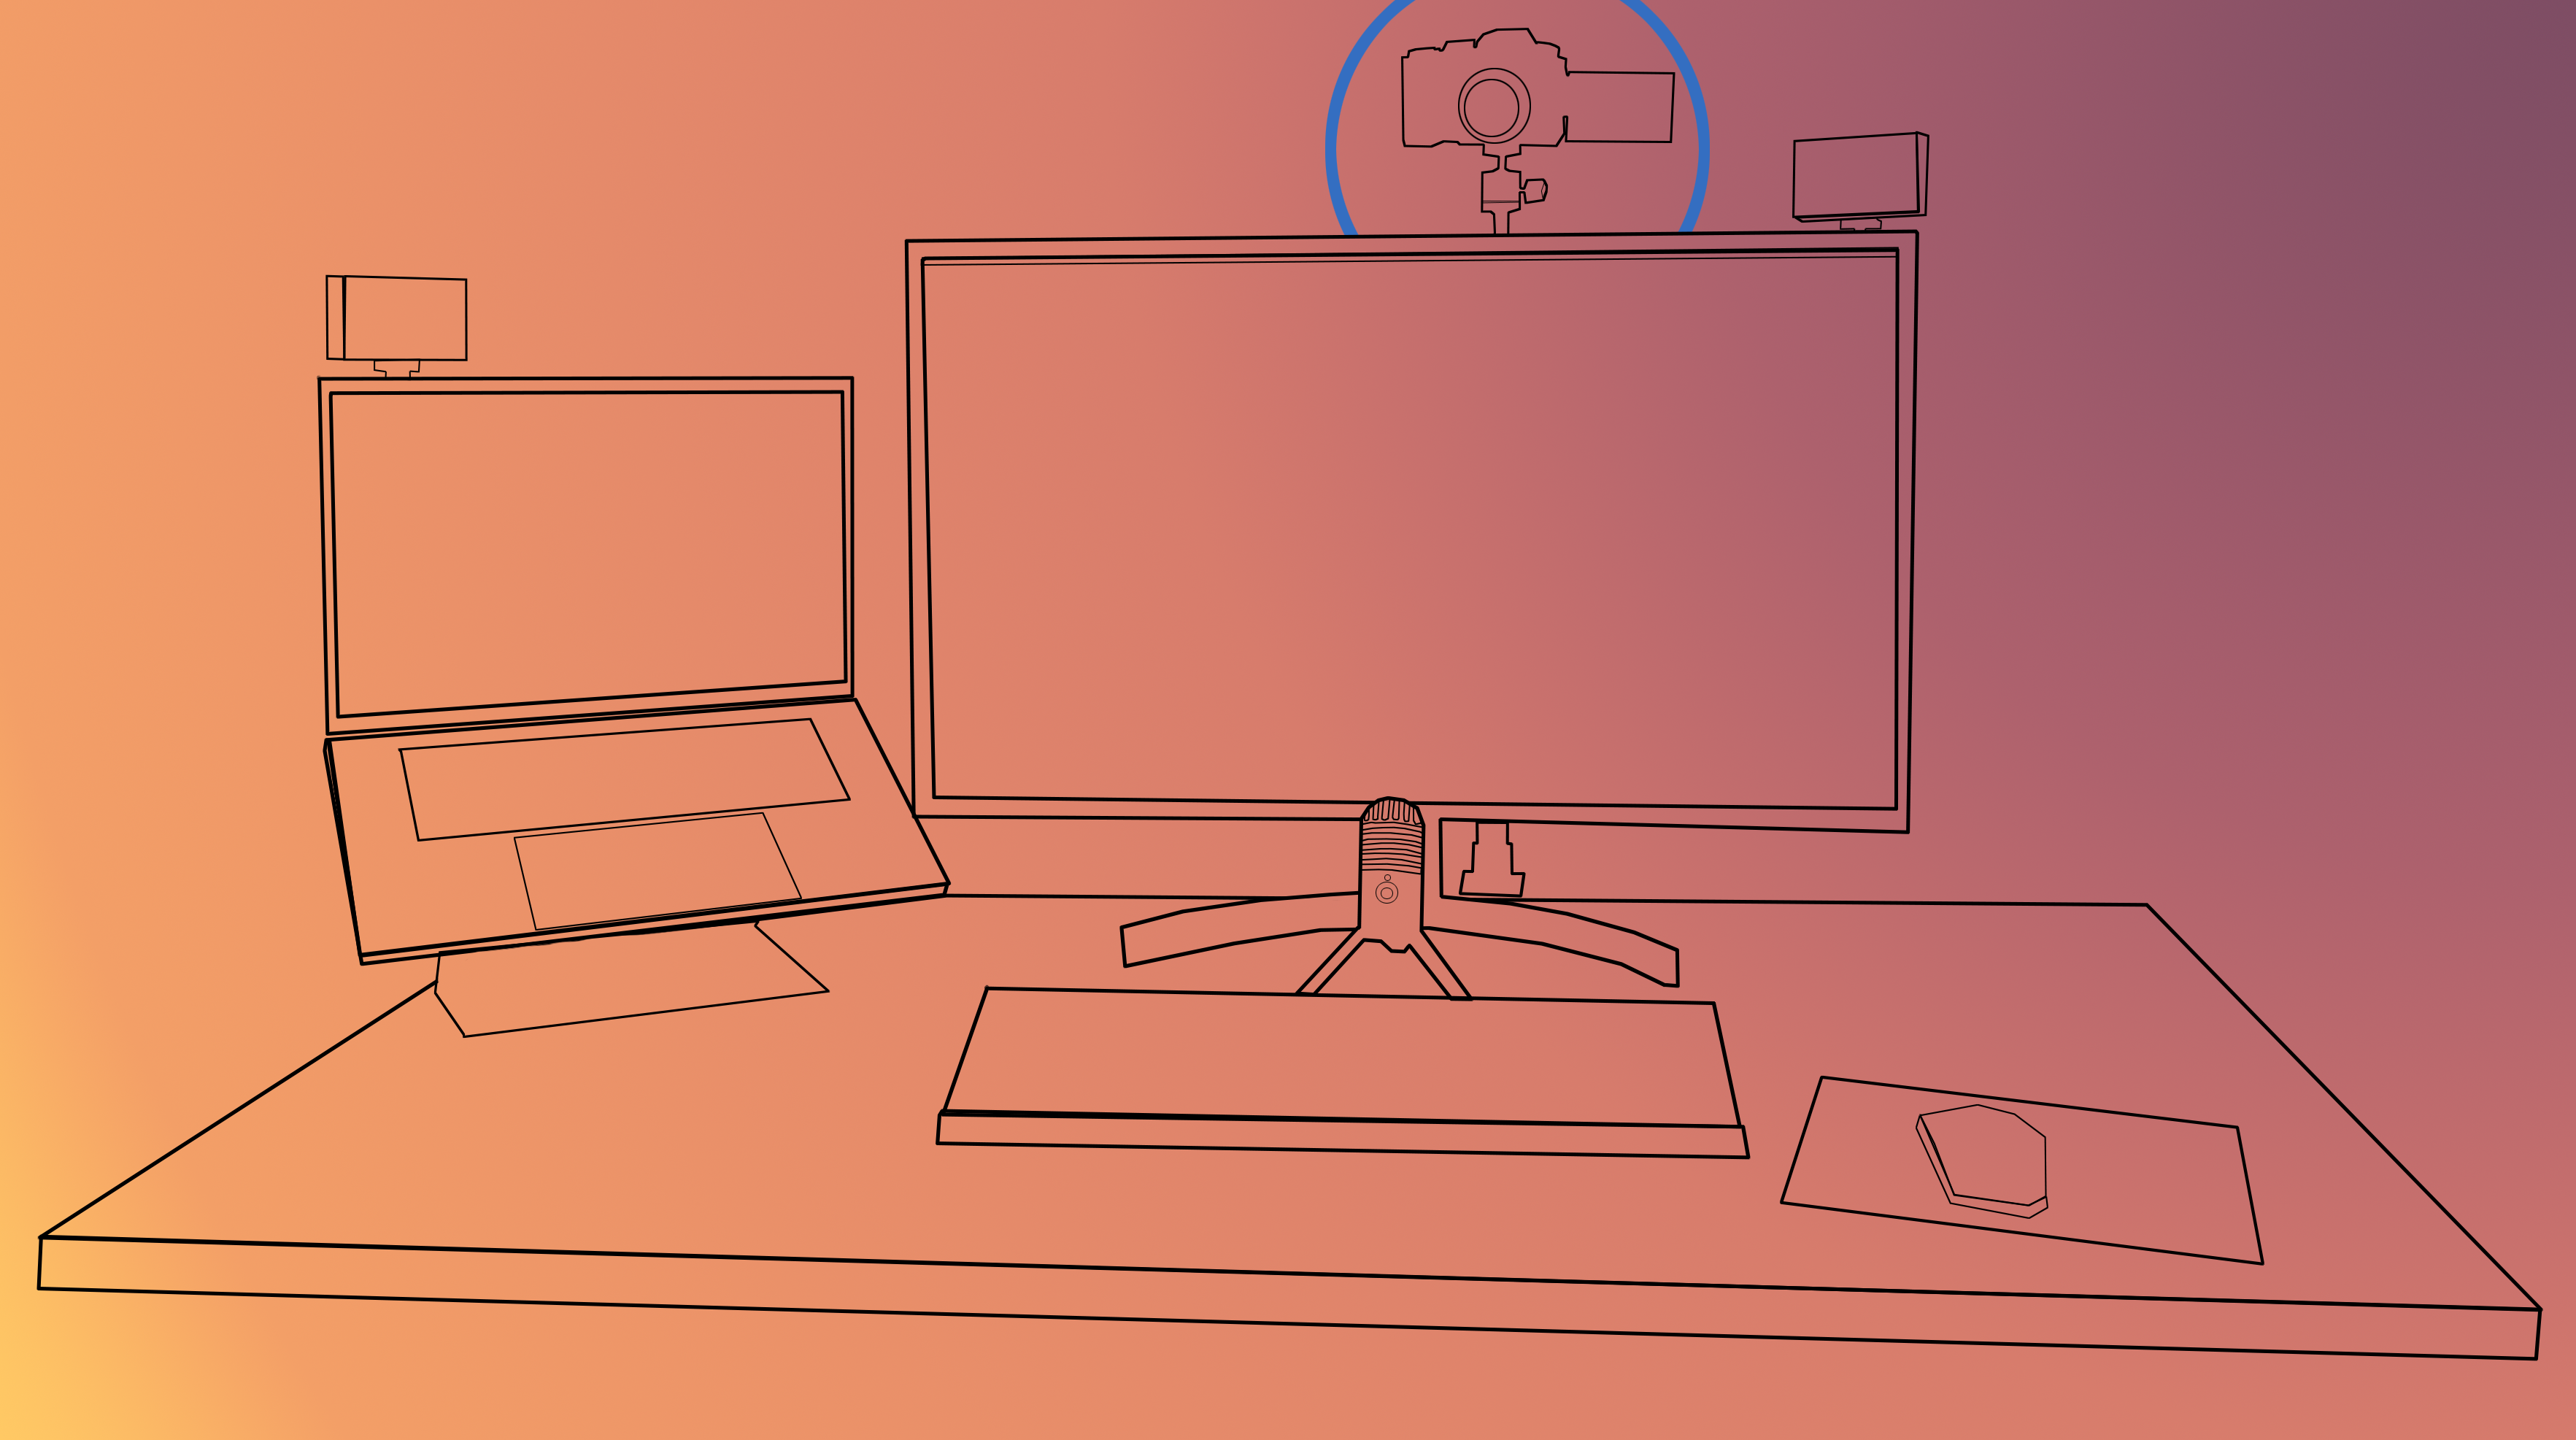
After all, some of us may go back to the office in a couple months, but video meetings aren’t going away any time soon. COVID has forever turned the standard meeting or phone call into a video conference. In theory, a videoconference might look something like this:
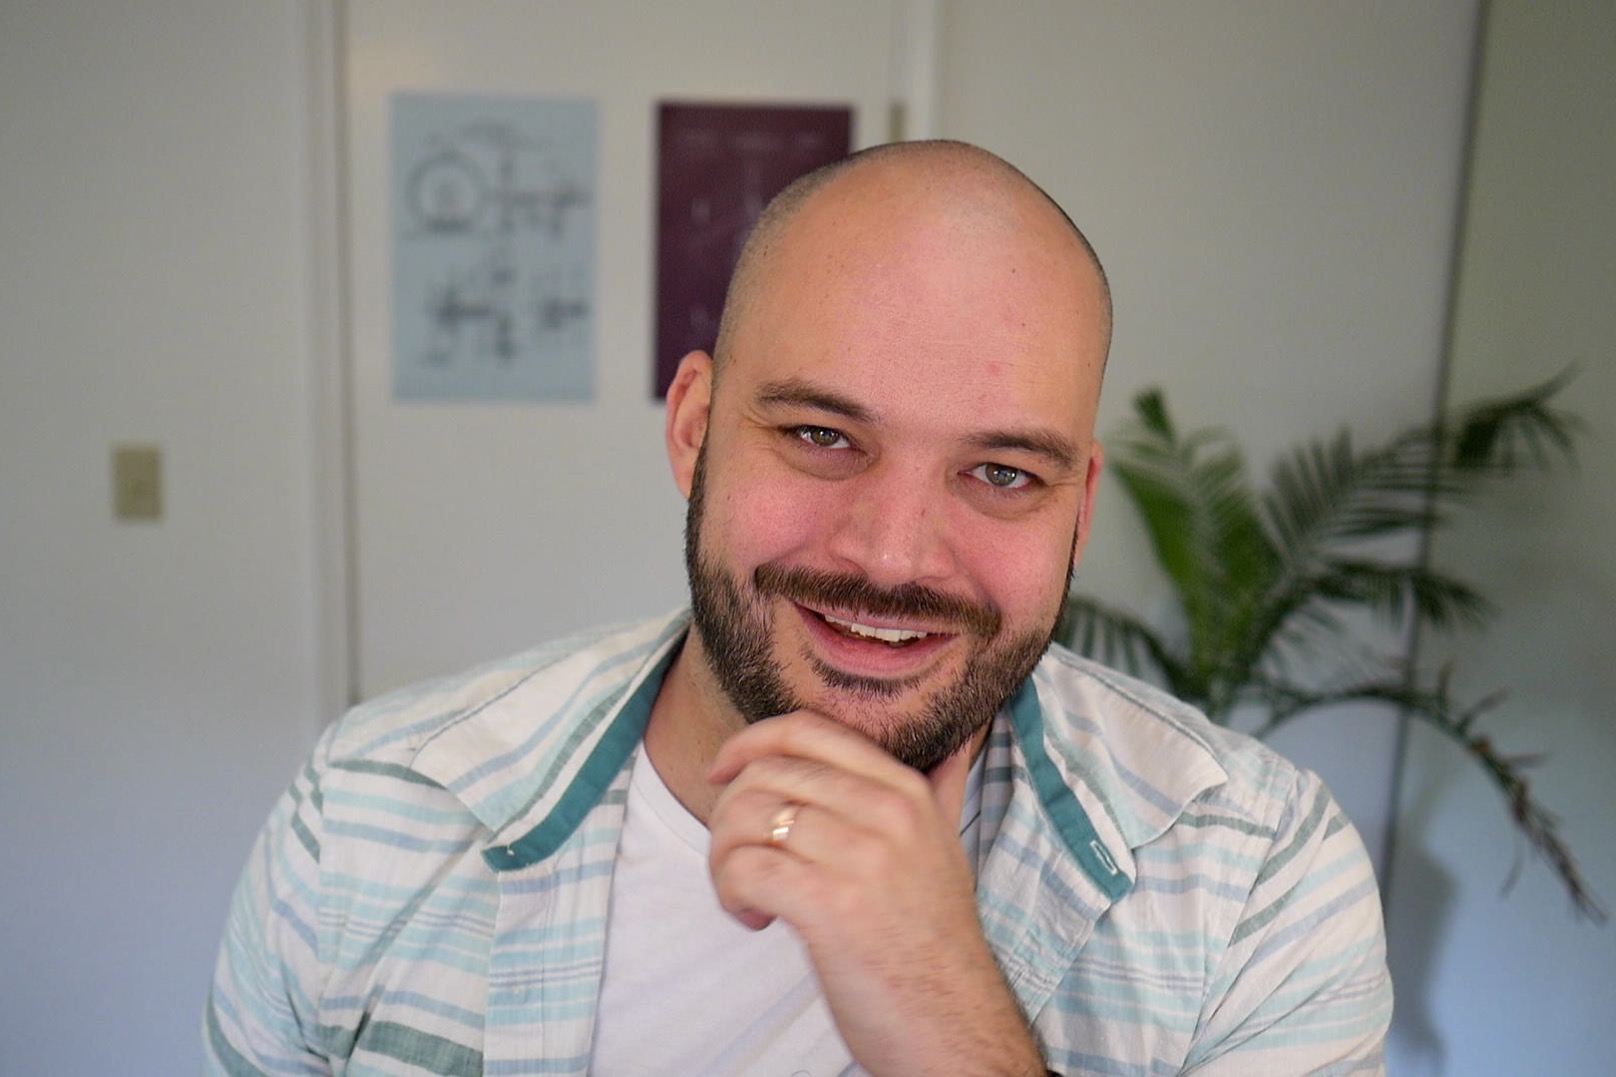
Except none of us look anything like that. That’s a stock photo of a laptop with a bunch of stock photos of people pasted onto it. Instead, we look more like I do in the photo below. We’re all using stock webcams or some old logitech that we pulled out of a box from a few years ago. We’re back lit, top lit, blown out, gray, and grainy.
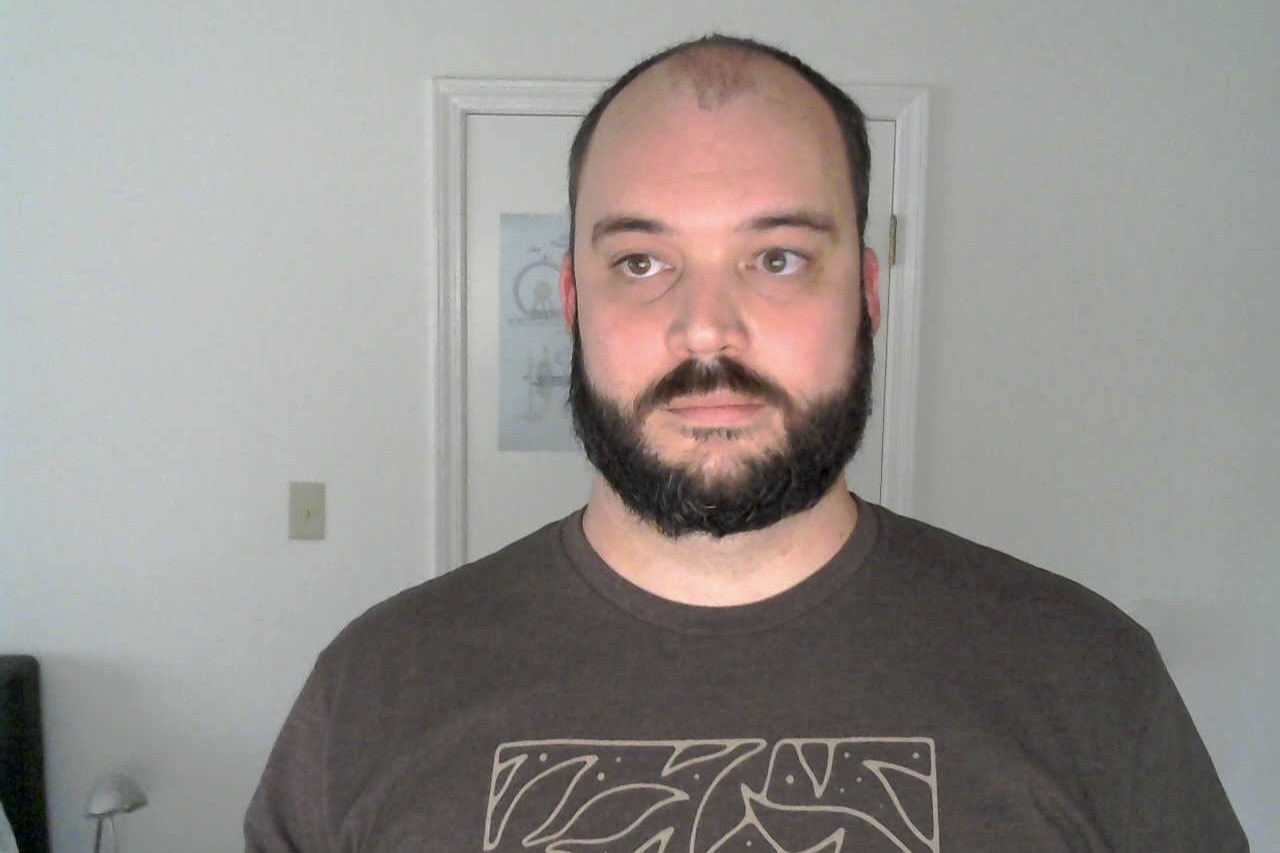
I look blown out and kinda red in the face. There’s some weird artifacting going on with my ample forehead. It is not a great look, but that’s the face all my clients see while I’m pitching my company. Luckily for me, I have some experience with cameras and lighting and even went to film school. Finally! A time to put all that education to good use.
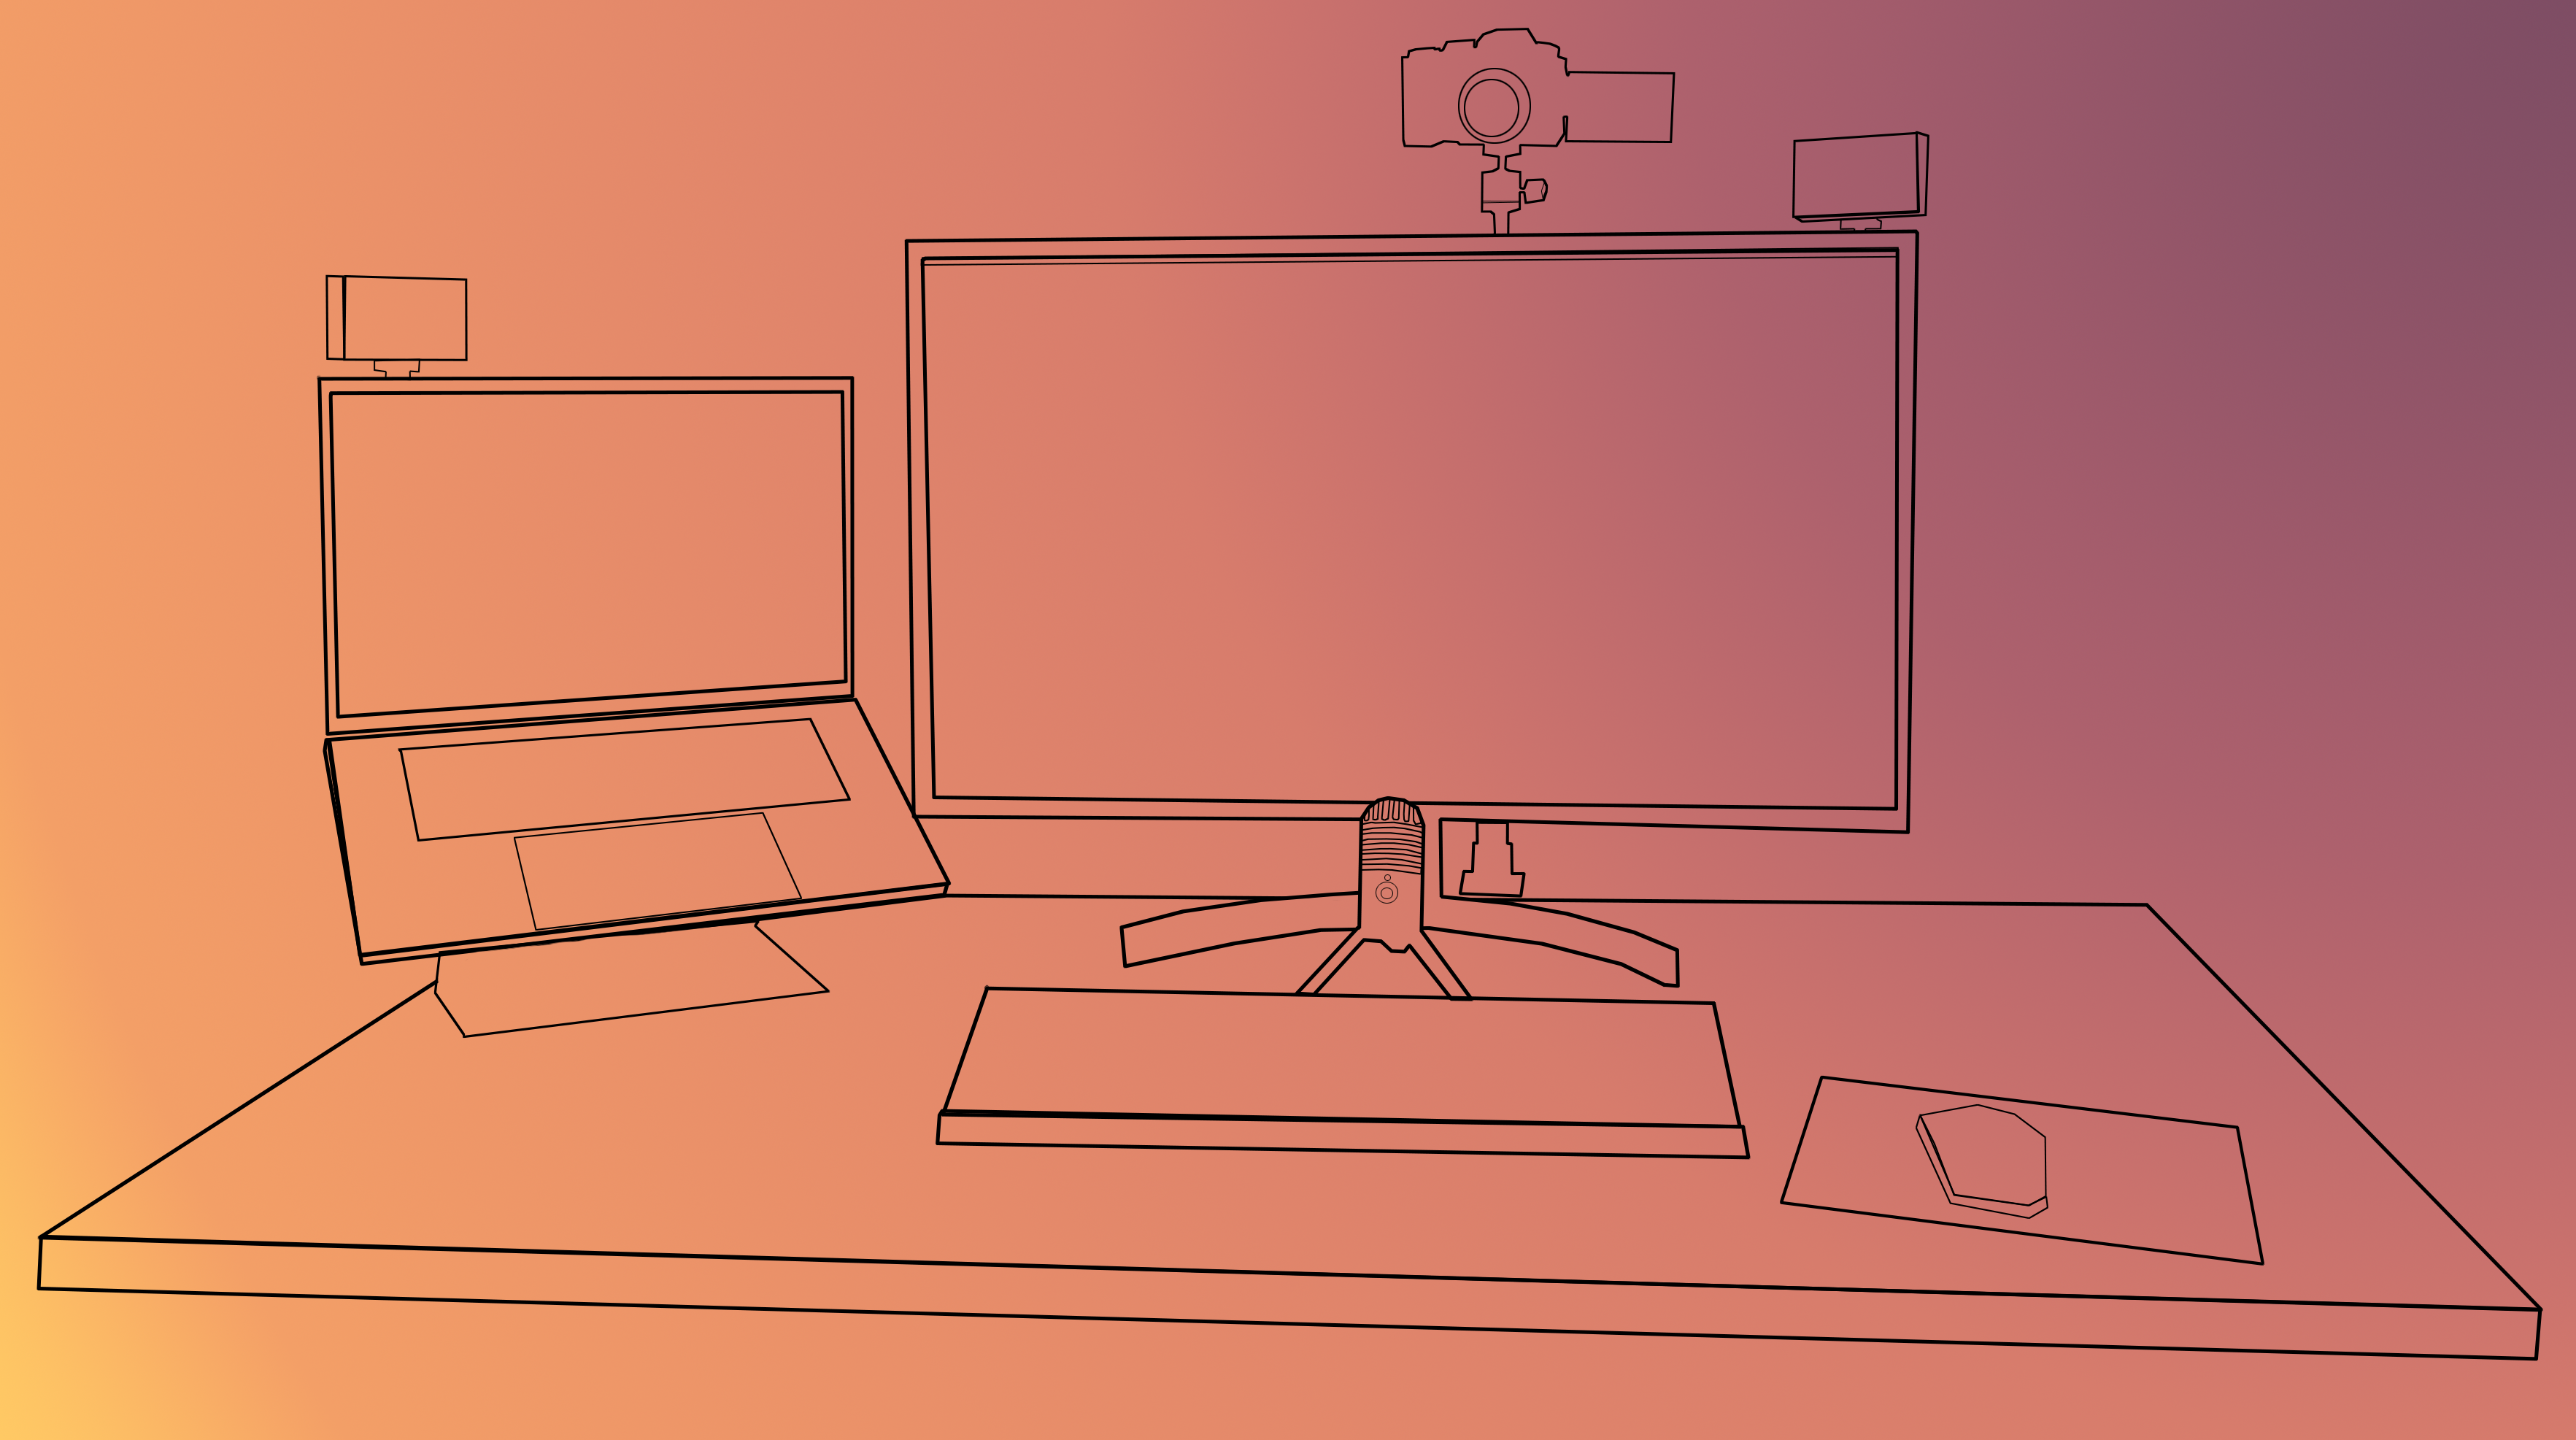
My desk, with all my new gear looks like this:
Lights
 Any videographer will tell you that quality videography requires adequate light. While that’s absolutely true, I’m not a subject in a video shoot. I’m using this computer and I need to be able to comfortably see the screen. I don’t want enormous blinding lights.
I want lights that are bright enough to provide some illumination for my face while not forcing me to strain during a long day of Zoom calls.
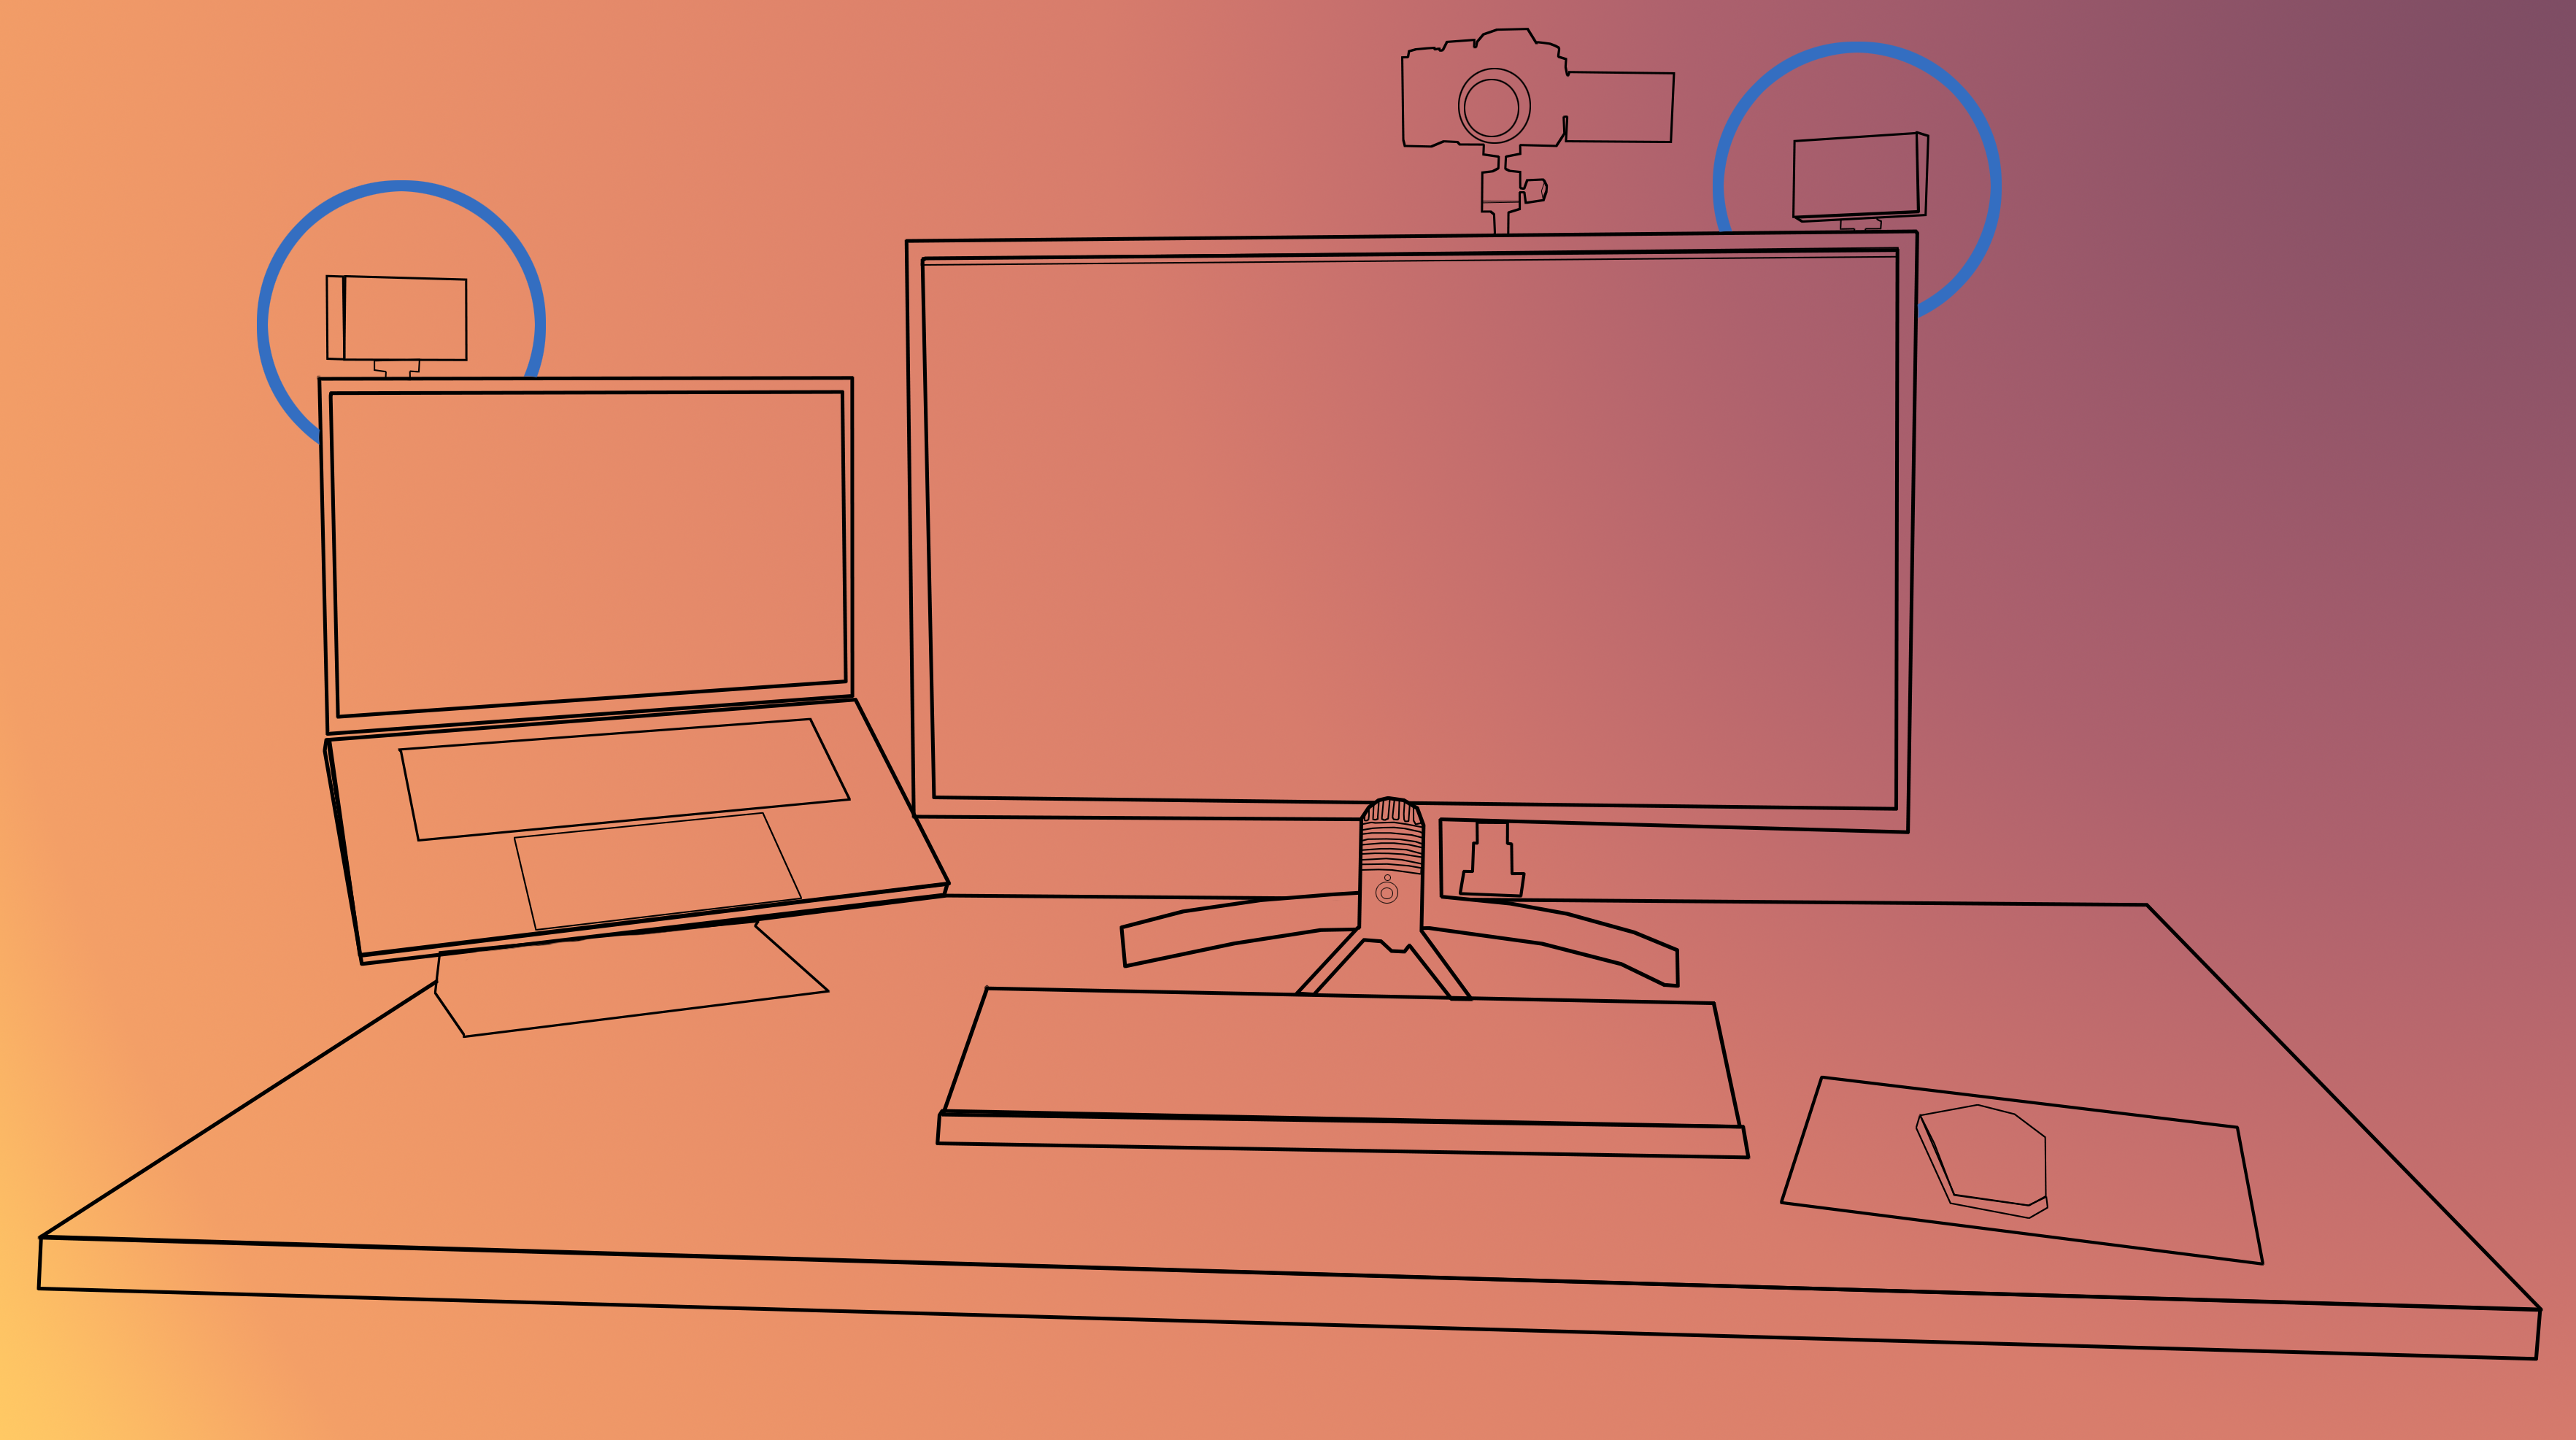
I ended up purchasing 2 Lume Cube “Video Conference Lighting for Remote Working” setups. I used the included suction cups to attach one to the top left corner of my computer and the other to attach to the top right corner of my monitor.
I’m quite happy with them. Both of them can be adjusted for brightness and color temperature. I tend to use the opposite color temperature as the rest of the room. During the day, when the room is lit through the windows, I use a warm color to contrast the bluish hue of the room. During the evening, when the room is lit by the overhead light, I use a cooler tint to be sure I pop.
Camera & Lens
Next, I wanted to upgrade my camera. There are a handful of $200-$300 webcams available, and I’ve tried several of them. In my experience, they’re junk: don’t bother. In this case, I wanted great dynamic range (that gentle gradient from light to dark that makes a great shot look great) and a shallow depth of field, so the background would be pleasantly out of focus.
The laws of physics dictate that a shallow depth of field is only possible with a large aperture or with fancy computational photography. Zoom’s computational background features are wonky at best, so we’re stuck improving our background the old fashioned way: a large sensor and thus a large camera. Realistically, this requirement meant that I needed an interchangeable lens camera.
DSLR’s are enormous and bulky, but there is another choice. The past few years has seen an explosion of mirrorless interchangeable lens cameras with fantastic sensors and great image processing. Megapixels are generally irrelevant to this discussion as neither Google Video or Zoom are streaming more than 720p resolution to manage bandwidth.
I ended up choosing the Panasonic G7. It’s a high quality camera whose Micro Four Thirds lens mount gave me access to a wide range of affordable and high quality lenses. Plus, it’s sale price (at the time I purchased it) of $498 made it cheaper than the comparable Sony a6100 or the Canon M200.
That $498 price comes with a zoom kit lens that is perfectly adequate, but didn’t have the large aperture I was looking for. The best way to get a large aperture (and a super sharp image) is to use a prime lens. A prime lens is a lens that does not zoom. They have fewer glass elements and fewer moving parts, making them smaller, lighter, and shaper than a zoom lens. Typically, they also come with a larger aperture.
Since my position and my camera’s position are fixed, zoom is completely unnecessary. I chose to get an Olympus f/1.8 17mm lens. This lens is quite pricey at $399 and may seem like a splurge compared to $0 for the included zoom lens, but you simply cannot beat the quality of a prime lens. If you’re going to cut something to save money, cut this.
Microphone
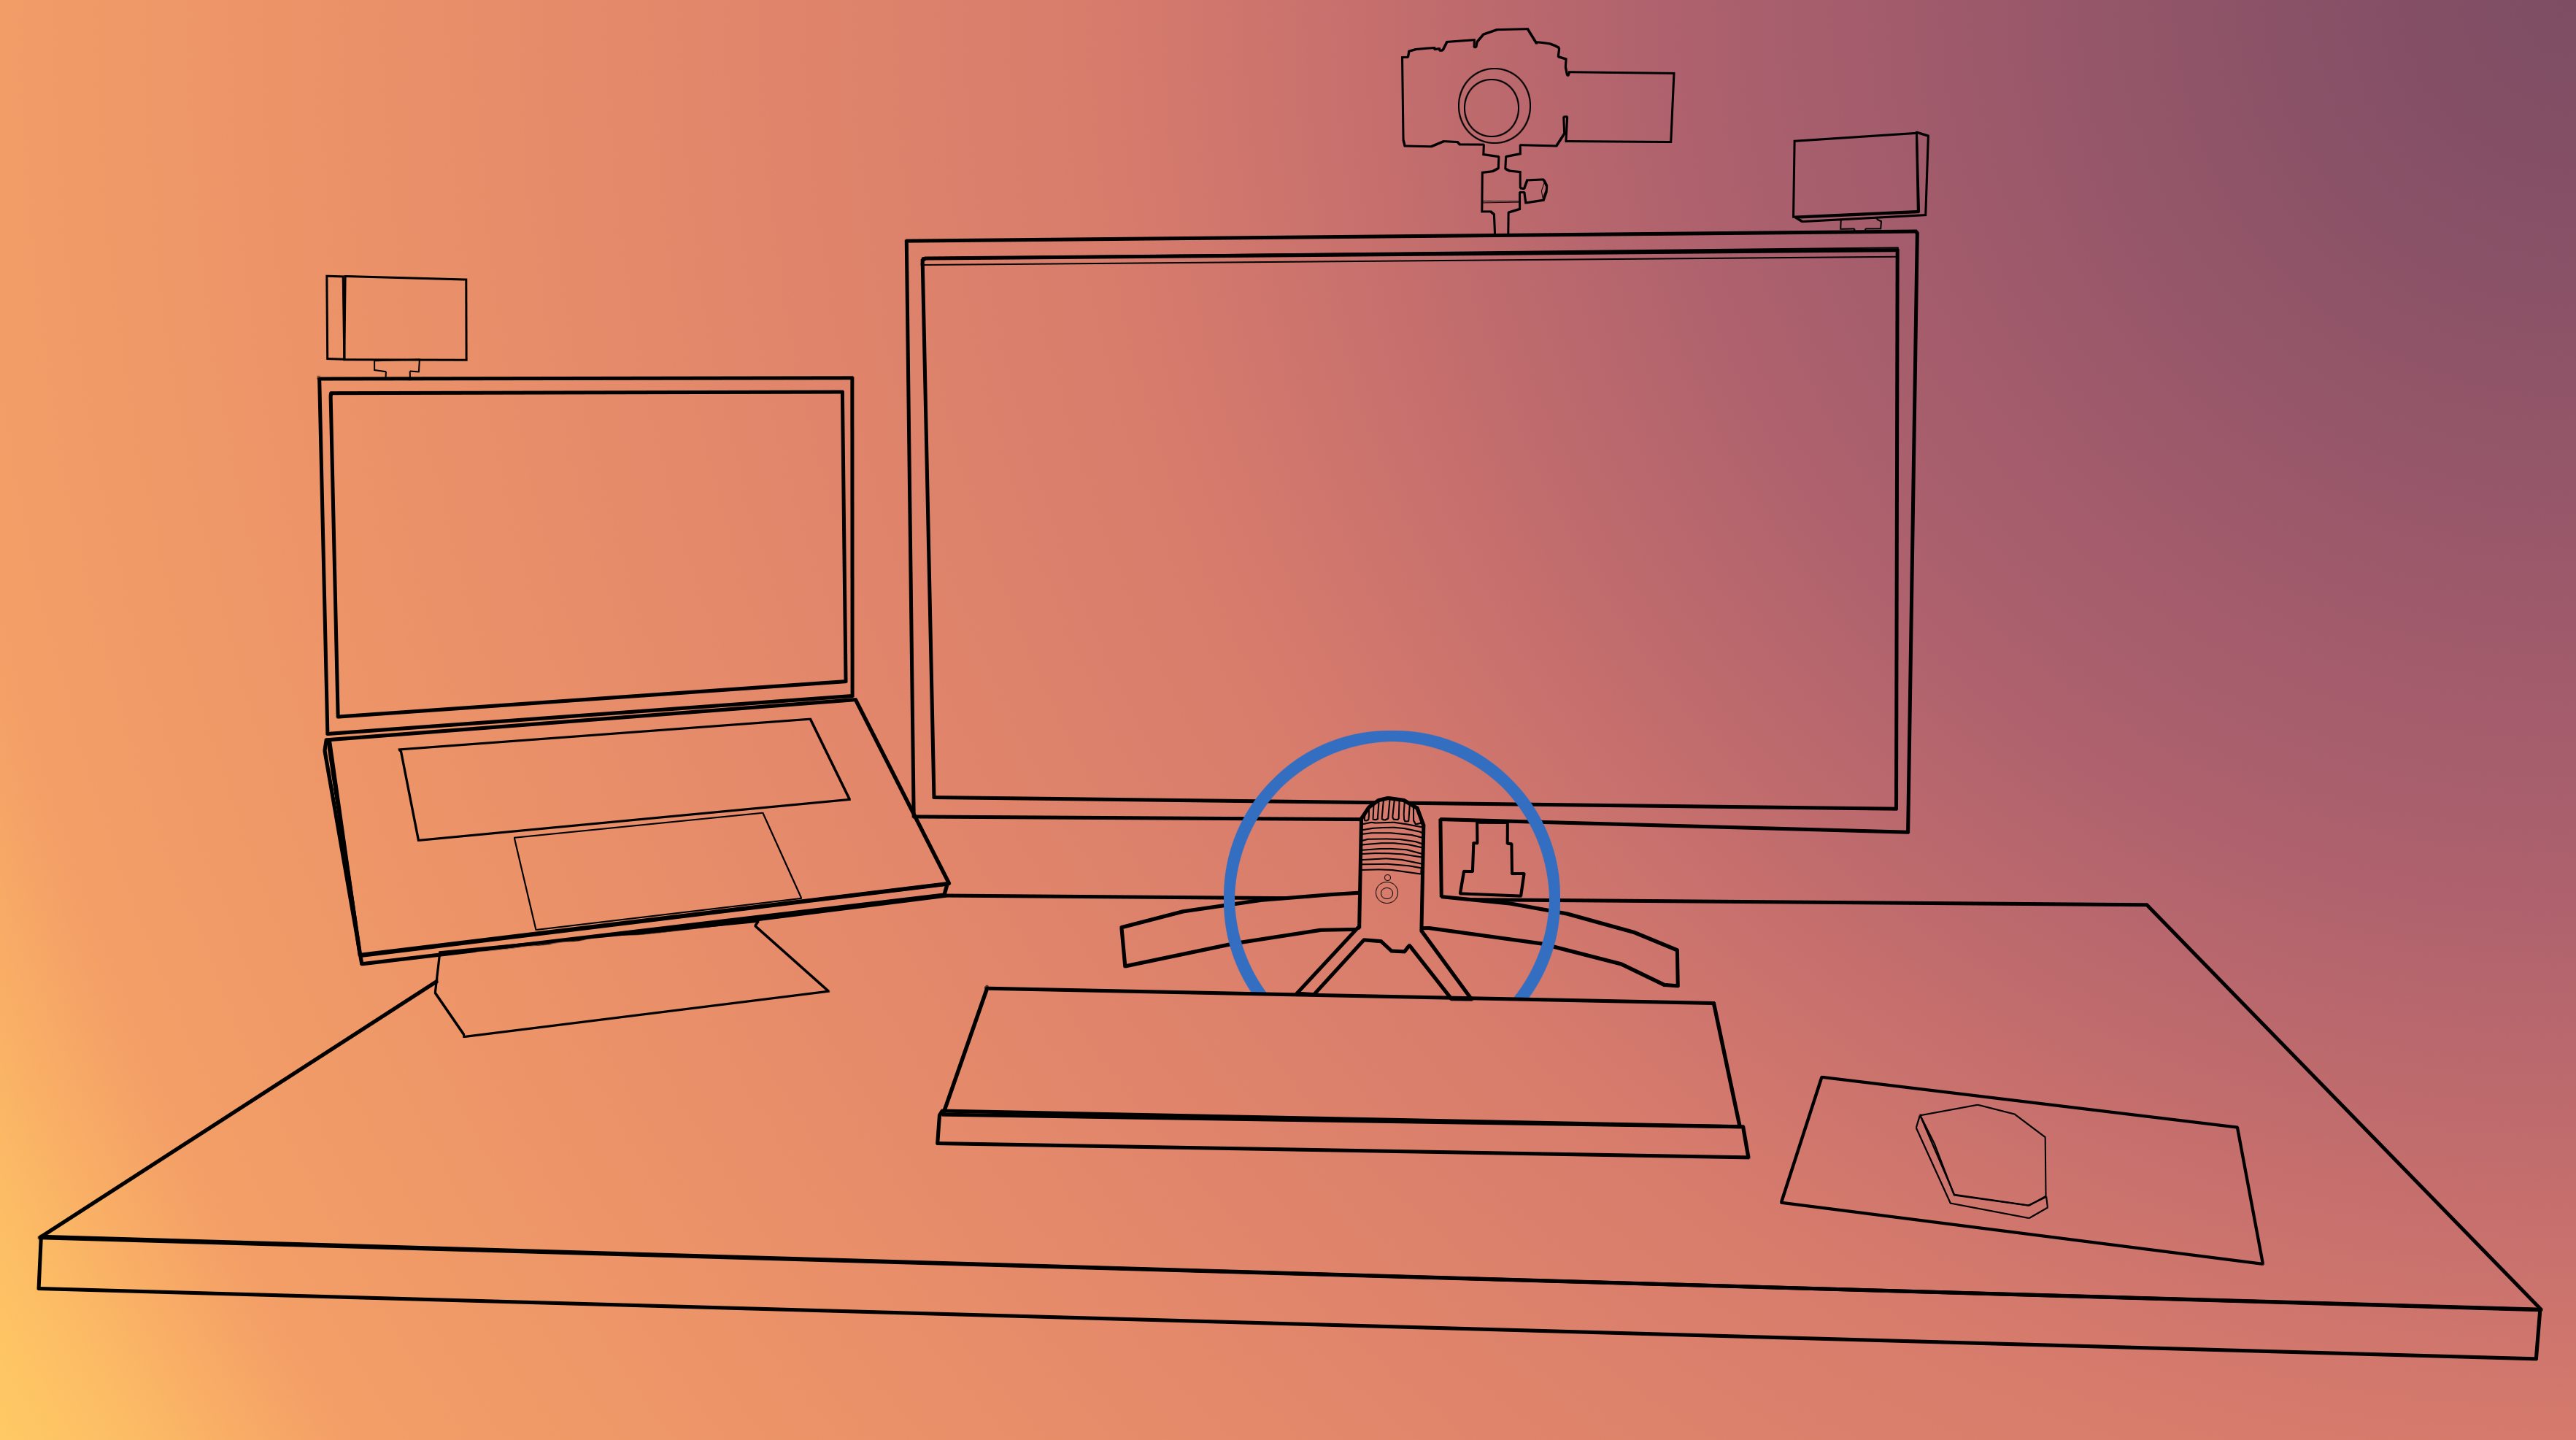
It’s silly to spend all this time and money to get a great camera system and still sound garbled and thin. The rise of podcasting has made high quality USB microphones available to everyone at a reasonable price. For this project, I needed a condenser microphone with a cardioid pickup pattern. After that, I just wanted something relatively small that would fit on my desk. I chose the Samson Meteor. It looks a little like a classic broadcast microphone mixed with a UFO.
Accessories
That’s all the important stuff, but we still need to be sure that we have all the right accessories to be sure it all works together. I made the following purchases:
- An adapter to convert the HDMI video stream to USB, the Atomos Connect 4k.
- An HDMI cable to connect the camera to the HDMI to USB adapter. I always get cables from Monoprice. Consider if the 3 foot cable suggested here is long enough for you. It is just barely long enough for me.
- A desk mount for the camera to boost it over my monitor while taking very little space. This one is from a generic company, but is perfectly satisfactory.
- A ball head, so I could point the camera at myself.
- A knockoff battery/AC adapter. Feel free to get the official one if you can find it and you’re concerned about damaging a several hundred dollar camera with a cheap adapter, but I think the risk here is low.
- A USB hub. You’ll need a bunch of USB ports to handle this setup
- 2 to charge the LumeCube lights
- 1 for the HDMI→USB video converter
- 1 for the USB microphone
Conclusion
A haircut, a smile, a shave, and a plant all help the way your zoom presentations look, but high quality equipment is essential to bringing that polished mug of yours to life.
These are not affiliate links - they’re honest recommendations
| Name | Cost | Type |
|---|---|---|
| Panasonic G7 | $497.99 | Camera |
| Samson Meteor | $69.99 | Microphone |
| 2x Lumecubes | $139.90 | Light |
| Atmos Connect | $79.00 | Video Converter |
| Micro HDMI Cable | $7.99 | Video Converter |
| Desk Mount Stand | $32.99 | Tripod |
| Rotatable Head | $11.99 | Tripod |
| Olympus 17mm | $399.00 | Lens |
| Power Adapter | $25.66 | Power |
| USB Hub | $38.99 | Power |
| TOTAL | $1303.50 |